#Industry News
MU10 Veterinary Ultrasound System User Guide
MU10 Veterinary Ultrasound System User Guide
MU10 Veterinary Ultrasound System User Guide
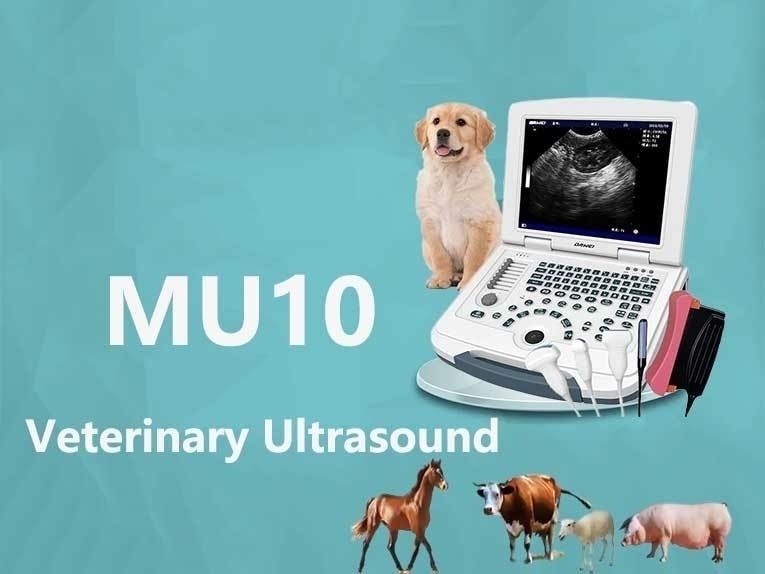
The MU10 Veterinary Ultrasound System is a comprehensive tool designed to enhance the diagnostic and monitoring capabilities of veterinary professionals. Suitable for various applications such as examining the abdomen, reproductive system, urinary system, and other organs, this system is a vital asset for animal healthcare. Below is a step-by-step guide for using the MU10 Veterinary Ultrasound System.
Initialization Setup Steps
Language Settings:
Power on the Machine:
Press the power button and wait for the system to boot up.
Access Language Settings:
Navigate to the main menu.
Select "Settings" > "System Settings" > "Language".
Use the arrow keys to choose your preferred language from Chinese, English, Spanish, French, Portuguese, or Russian.
Press "OK" to confirm your choice.
Probe Settings:
Access Probe Settings:
In the "Settings" menu, select "Probe Settings".
Choose the appropriate probe type (convex, linear, micro-convex, rectal, backfat).
Use the arrow keys to select the desired probe.
Press "OK" to confirm your selection.
Operating Steps for the MU10 Veterinary Ultrasound
Turning On the Machine:
Power On:
Press and hold the power button for more than three seconds until the power indicator lights up.
Wait for the machine to complete its initialization.
Setting Animal/Body Marking:
Select Animal Type:
Navigate to "Other Settings".
Select the appropriate animal type (e.g., pig, dog, cattle, horse, cat, goat, camel, sheep).
Set the corresponding body markings for accurate scanning.
Setting Scan Parameters:
Choose Probe Mode:
Select the desired probe mode: convex, linear, micro-convex, rectal, or backfat.
Adjust Scan Settings:
Apply coupling gel to the animal’s scan area.
Adjust the frequency range, image mirroring, and other parameters to optimize the scan.
Preparing the Animal Patient:
Ensure Safety and Comfort:
Prepare the animal, ensuring its safety and comfort.
Apply appropriate gel to the scanning site for soundwave conduction.
Scanning Procedure:
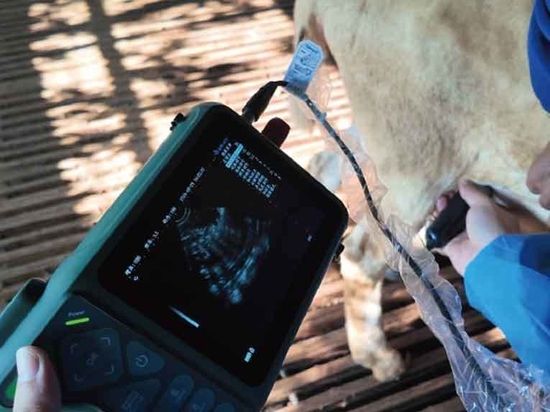
Perform the Scan:
Gently move the probe over the area to be scanned.
Observe the real-time image on the screen.
Adjust the probe’s position and angle as needed.
Capture necessary images and data.
Data Processing and Storage
Measurements:
Distance Measurement:
Place the probe on the object to measure.
Press the "Dis" button and use the trackball to mark start and end points.
The screen will display the measurement result.
Circumference/Area Measurement:
Press the "Menu" button, select "Circumference/Area".
Trace the object’s contour using the probe.
The measurement result will display on the screen.
Obstetric Measurement:
Press the "OBC" button to enter obstetric measurement mode.
Choose the specific obstetric measurement tool based on the animal type.
Perform the measurement to determine fetal positions and related information.
Image Processing:
Enhance Images:
Adjust parameters like pseudo-color, magnification, and mirroring to improve image quality.
Data Storage:
Store and Manage Data:
Utilize the built-in 32GB memory for permanent storage.
Support additional storage via USB or TF card.
Store and retrieve images quickly using the date-based folder organization.
Turning Off the Machine:
Power Off:
After completing the scan, press the power button for more than three seconds to turn off the machine.
Additional Features and Configurations
Display Modes: B, B+B, B+M, M, 4B.
Electronic Focusing: 4 levels.
Body Marks: ≥17 types, customizable.
Probe Frequency Ranges: Various ranges for different probe types.
Image Mirroring: Adjustable in multiple orientations.
Measurement Tools: Distance, circumference, area, volume, heart rate, etc.
Obstetric Software Packages: Over 8 types for different animals.
Permanent Storage Capacity: Built-in 32GB, expandable with external storage.
Interface: RS-232, VGA, VIDEO, 2*USB, DICOM.
Power Indicators: Power and charging indicator lights.
This comprehensive guide provides instructions for operating the MU10 Veterinary Ultrasound System, covering initialization, scanning procedures, measurements, and more. For further questions or additional information, please feel free to inquire.


